Images
Video Links
Examples from Videos
Links
- http://picresize.com/ - to resize your images
Notes
There are three common formats of images that can be used in web pages: jpgs, gifs, and pngs. You cannot use formats like tiff or bmp since browsers are generally not equipped to work with those formats.
To add an image to a page is fairly simple. There is one tag with no corresponding end tag, so you can be formally correct
in your code by putting a " /" at the end of the tag. The name of this tag is
img and its most important attribute is src which gets set equal to either the local file name or a URL
(as we described in the links discussion). This code:
<img src="images/pi.jpg" />
Would put an image on the screen like this:
There are a group of attributes that go along with the basic image tag.
- height and width
-
You can specify just height, just width, or both. If you specify only one, your image will be re-sized proportionally.
For example, here's the above image with the height specified to 20 and with no width specification
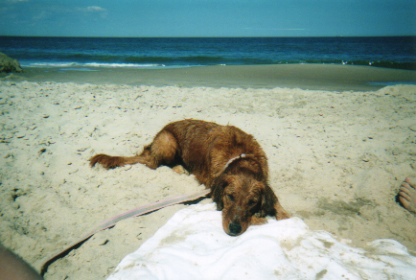
If you specify both values, you can stretch the image. Here is the dog image with the height at 50 and the width at 250:
Don't ever do this. Your image looks terrible and distorted and it is a pet peeve of mine.
- border
- As you can see from the above, pictures do not have a border by default. You can add one by setting the border attribute equal to the pixel size of the border. Here's the image with a 2 pixel border:
The border will show up in the current text color. If you want to change the color of the border, you can put a font tag around the image to set the font color and thus change the border color.
The image will show up with a border by default if the image is set up as a link. The border will show up in the link or vlink color depending on whether or not the link has been visited. If you don't want a border on the image that you are using as a link, set the border to 0.
<a href="http://dogs.com"><img src="images/pi.jpg" border="0"></a>
- alt
-
The alt tag stands for "alternate". In the alt tag you can specify a piece of text to show up in place of your images as your image as it is loading or in case it is broken. For example, if I added a broken image, it would show up like this:

But if I add an alt attribute that says "broken image" it will show up like this:

The code for that will look like this:
<img src=nosuchimage.jpg alt="broken image">The "alt" attribute is core for making web pages accessible to the visually impaired and good practice will always include alt text to describe the image.