Implementing 802.1x on Wireless Networks with Cisco and Microsoft
Setting up a Domain Controller
1) Run "dcpromo.exe" from the Run prompt.
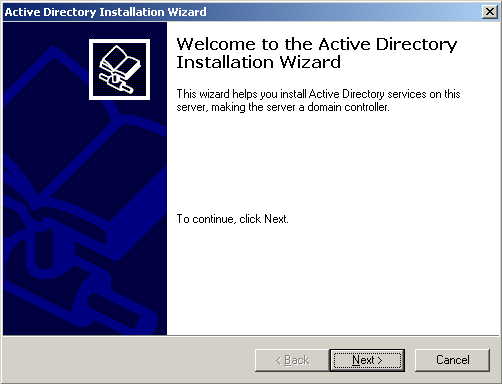
2) Select Next at Domain Controller Installation Welcome Screen. Unless you're setting up a new domain controller within an already existing domain, or some other specialized installation, you're probably just going to be clicking next for the defaults at each of the installation steps.
3) Select Next again, unless you are adding this into an existing domain.

4) Select Next, unless you're creating your new domain under an existing domain structure.

5) Select Next, unless (again) you're integrating this into an existing domain structure.

6) Type in the dns name for your new domain, if you're unsure of what to use, just create an appropriately named sub domain for your organization's domain, or if this will be completely internal than you can put whatever domain you'd like ;-). Click Next.

7) The automatically selected name is probably ok, just select Next unless you have a good reason to change it.

8) Again, just select Next unless you have a good reason to change it.

9) Just select Next - if you didn't install the server on an NTFS partition (the default), you'll have to cancel the installation and convert the partition to NTFS, then restart the domain controller installation.

10) You will probably receive this message - just hit OK and continue with DNS installation.

11) Select Yes, then Next.

12) I recommend selecting the second option, "Permissions compatible only with Windows 2000 servers", if you're using this within an existing domain which has NT4 servers, chose the first option. Select Next.

13) Enter the domain administrator's password. Make sure you use a secure alpha-numeric password. Select Next.

14) Review the summary installation information and select Next.

15) The Active Directory Installation Wizard will install the domain controller, and prompt you to reboot once its completed. After its rebooted continue with the server installation.