Software
This course will make use of the following software:
Operating system: macOS, Windows, or Linux
Dafny: the implementation language and source language of our compilers.
Python langs package: a package containing utilities for this course.
Instruction for using each system are below:
1 Dafny
Dafny is a “verification-aware” object-oriented programming language that we will be using in this class. This page contains installation information for both the Dafny tools and interactive-development-environment (IDE) support, links to resources you may find useful, and explanations for how to run Dafny once it is installed.
1.1 Installation
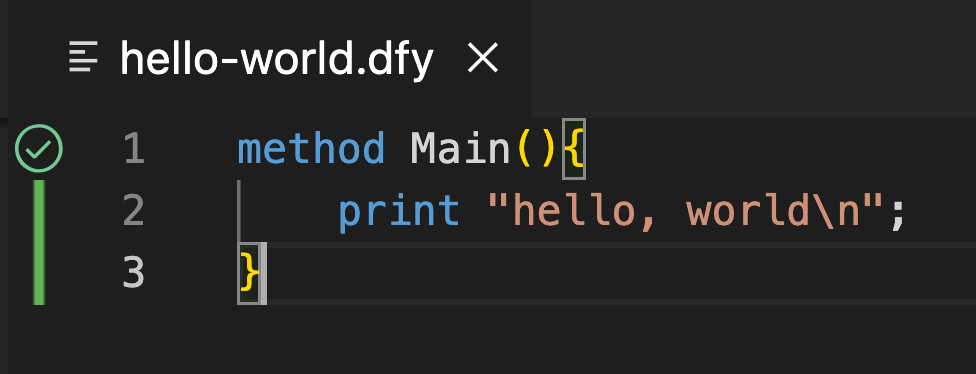
We recommend using VS Code with Dafny extension as your IDE. Follow the Official Installation Instructions To test your installation, open a new file, and copy/paste the following code:
method Main(){ print "hello, world\n"; }
If everything is installed correctly, VS Code will display a green checkmark to the
left of the method name.
2 Python
Install the latest version of Python fron https://www.python.org/
- Install Z3-solver using:
pip install z3-solver
3 Rocq + VsRocq
You can follow the insturctions at https://rocq-prover.org/install#mac-vscode to install Rocq and VsRocq Exctension.
3.1 Installing Rocq
This guide walks you through installing Rocq (proof assistant) and VsRocq (VS Code extension) on a Mac (supporting both Intel and Apple Silicon chips) and Linux. If you are using a Windows compuetr, install Rocq on Windows Subsystem for Linux (WSL) or in a virtual machine running Linux.
shell
> opam --version
2.5.0
MacOS:
brew update
brew install opam
Linux:
sudo apt update
sudo apt install opam
opam init
eval $(opam env)
opam update
opam upgrade
opam init will prompt you to allow opam to set up initialization scripts, which is generally fine to accept. Otherwise, every time a new shell is opened you have to type in the eval $(opam env) command above to update environment variables.
To install Rocq, simply run the following command. Note that installing Rocq using opam will build it from sources, which will take several minutes to complete. The following command will pin the rocq-prover package to version 9.0.0 and install it.
opam pin add rocq-prover 9.0.0rocq -v
which vsrocqtopopam install vscoq-language-server3.2 Install VsRocq (VS Code Extension)
Open VS Code.
Go to Extensions → Search for VsRocq → Install.
Configure the path to vscoqtop if prompted.
Verify by opening a .v file. Highlighting and proof-step navigation should work.

3.2.1 For Windows only: Open a remote folder or workspace
- From the WSL terminal
Navigate to a folder you’d like to open in VS Code (including, but not limited to, Windows filesystem mounts like /mnt/c)
Type code . in the terminal. When doing this for the first time, you should see VS Code fetching components needed to run in WSL. This should only take a short while, and is only needed once.
- From VS Code on Windows
Start VS Code.
Press F1, select WSL: Connect to WSL for the default distro or WSL: Connect to WSL using Distro for a specific distro. Use the File menu to open your folder.
If you already have a folder open, you can also use the WSL: Reopen Folder in WSL command. You will be prompted which distro to use.
If you are in a WSL window and want to open the current input in a local window, use WSL: Reopen in Windows.