|
Project #3 |
CMSC 131 |
|
Due Friday 3/13 at 11:00PM |
Object-Oriented Programming I |
|
Type of project: Closed |
Spring 2009 |
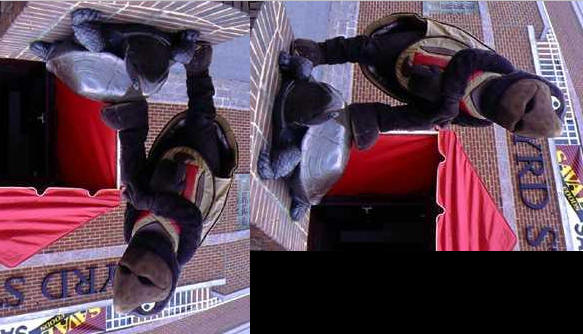
Photograph Manipulation
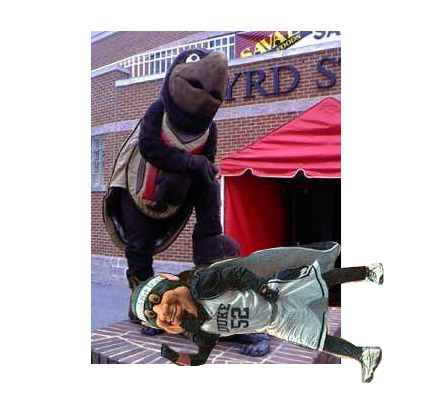
The Duke "Blue Devil" is crushed beneath the mighty foot of Testudo!
(The photo above was actually manipulated with PhotoShop, not with this project.)
Objective
To practice using a library, reading and understanding JavaDoc, writing and calling methods, and to reinforce all of the techniques you've been learning so far.
Overview
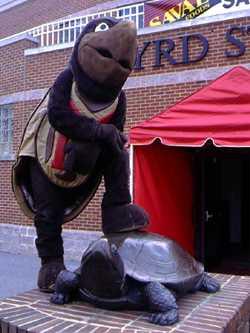
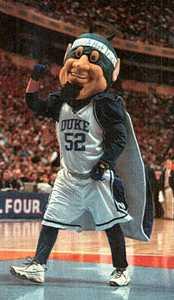
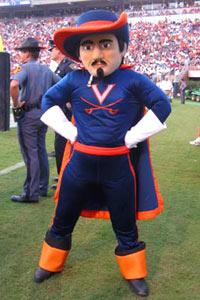
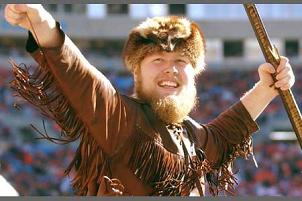
This project will involve manipulation of photographs. We have provided the images, below, for you to use with your project, but the project will work with just about any images -- in fact, you can have it manipulate any picture from the internet by typing in the URL. Here are the photos that are included with the project:
|
MD.JPG |
|
|
Duke.JPG |
|
|
VA.JPG |
|
|
WV.JPG |
|
Digital Images and Pixels
A digital photograph is made up of a rectangular grid of tiny spots of color, called "pixels". There are many different schemes for how the color in a pixel could be determined -- for this project we will use the most common one (RGB). The color of each pixel in our photos will be determined by its level of three "primary" colors: Red, Green, and Blue. By mixing various amounts of red, green and blue in a pixel, you can create what appears to the human eye as any of a wide range of colors. For each pixel, the level of each of the three primary colors (red, green, and blue) can be anywhere in the range of 0 to 255. Below is a table that illustrates how mixing various levels of Red Green and Blue results in different colors:
|
Red |
Green |
Blue |
Resulting Color |
|
153 |
102 |
255 |
|
|
89 |
183 |
105 |
|
|
214 |
73 |
214 |
|
|
255 |
255 |
111 |
|
|
0 |
0 |
0 |
|
|
255 |
255 |
255 |
|
JavaDoc
JavaDoc is a tool that Java programmers use to create automatically-generated documentation for their projects. This sort of documentation has been generated for all of the standard Java class Libraries. If you haven't already discovered it, take a look: Java 5.0 API Specifications.
We have created JavaDoc for the cmsc131PhotoLibrary that you will be using for this project. Take a look: cmsc131PhotoLibrary API Documentation. There will be some information in the JavaDoc that you won't be able to understand yet. Please don't worry about that -- by the end of the course it will all make sense! You should immediately read and become familiar with the JavaDoc for the Photograph and Pixel classes, found in the link above.
The Driver
We are providing a Driver in a class called "Driver.java", located in the package called "editing". (In Eclipse, click on the "editing" package to see what is inside.) The driver contains a main method that you should run to make this project work.
When you run the main method in the driver, you will see this dialog box:
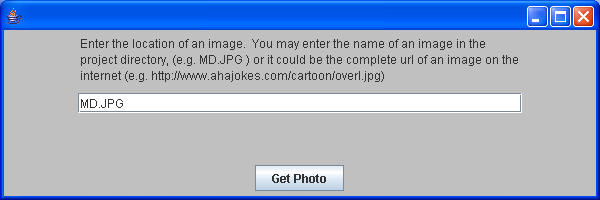
Enter the name of a photo you would like to edit, and then click the "Get Photo" button.
After selecting a photo, you will see your photo presented in a dialog box like this:
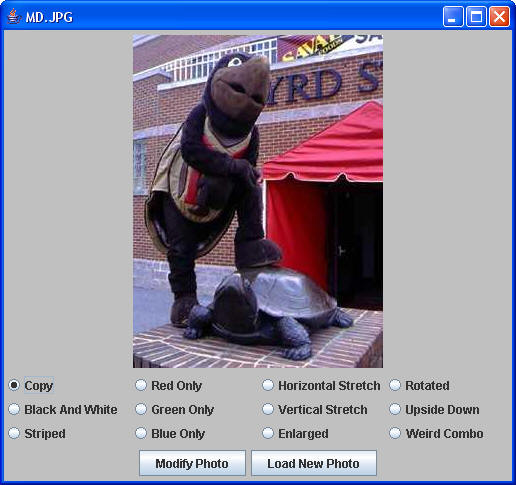
If you select one of the twelve "radio buttons" and then click "Modify Photo", you will see the photo displayed again after the selected "effect" has been applied. For example, if you select the "Upside Down" radio button and click "Modify Photo" for the picture above, you will see this:
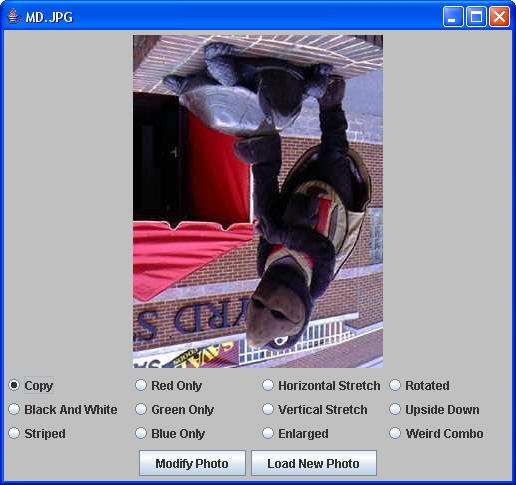
You can continue to apply effects to the image by choosing one of the various options and selecting "Modify Photo". If at any time you want to start over with a new unaltered photo, just click the "Load New Photo" button, and you will go back to the original dialog box that asks you to enter the location of a photo.
PhotoTools Class
This is where you come in. None of the editing effects will work until you implement them! You must fill in the implementation for nine static methods of the PhotoTools class. This class is located in the "editing" package -- in Eclipse, click the editing package to access the files inside.
Below is a description of all of the static methods that you must implement in the PhotoTools class. You should implement these methods one at a time and run the Driver to test them out one-by-one as you write them!
For each method described below, you will see a screenshot that shows the resulting image when the effect is applied to the original "MD.JPG" photo. Your results must look exactly like those pictured below. Any slight variation will cause you to fail the release tests!
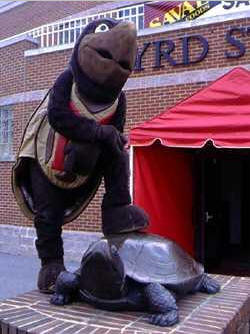
1.
public static
Photograph copy(Photograph photo) -- This method will return a new
Photograph that is an exact copy of the parameter. You will need to
instantiate a blank Photograph that is the same size as the parameter, and then
copy all of the pixels from the parameter to the new Photograph.
(Hint: Use nested loops!) Note: Do not return a reference to
the parameter itself; you must return a reference to a distinct copy of the
parameter.
2.
public static
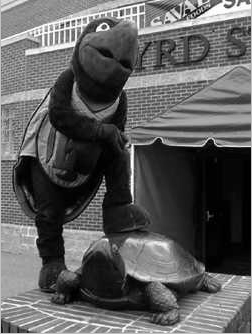
Photograph makeBlackAndWhite(Photograph photo) -- This method will
return a new Photograph that is a black and white copy of the parameter.
Here is how to create each pixel in the new photo: Take the average of
the red, green, and blue levels of the corresponding pixel in the parameter,
and set all three levels for the pixel in the new photo equal to this
value. For example, if the RGB values for a particular pixel in the
original photo are <100, 120, 140> then you would set the RGB values for
the corresponding pixel in the new photo to <120, 120, 120> since 120 is
the average of the values in the original pixel. Note: If the
average is not a whole number, then round down.
3.
public static
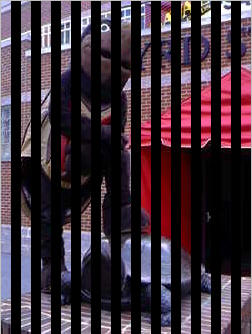
Photograph striped(Photograph photo) -- This method will return a new
Photograph where the first 10 columns look like the original; the next 10
columns are all black; the next 10 columns look like the original; the next 10
are all black; etc. To create the black pixels, set all three of the red,
green and blue values to 0.
4.
public static
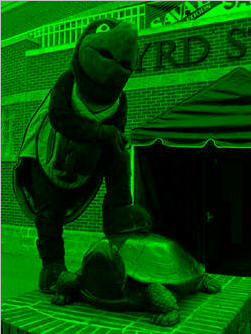
Photograph isolateColor(Photograph photo, int type) -- This method will
return a new Photograph that is a copy of the parameter, but with only one
of the three primary colors visible . In other words, for each pixel in
the new photo, one of the primary colors will remain unchanged, but the other
two will be set to zero. The second parameter, type, will be used
to specify which color will remain -- it will be: 0 for red; 1 for
green; 2 for blue. For example, if the type is 1 (green), then
each pixel in the new photo will preserve the original green value, but will
have the red and blue values set to 0. Below is an example where type is
1:
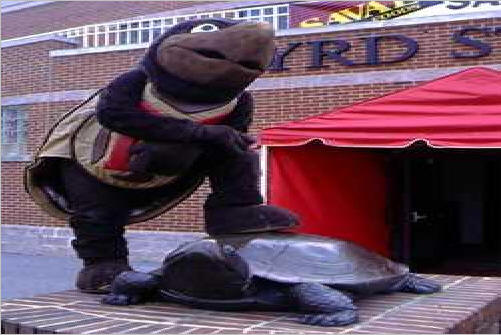
5.
public static
Photograph stretched(Photograph photo, int type) -- This method will
return a new Photograph that is either twice as wide or twice as high as the
original. The parameter type will be either: 0 for a
horizontal stretch, or 1 for a vertical stretch. In other words, if type
is 0, then each column in the original photo will appear twice in
the new one. If type is 1, then each row in the original
photo will appear twice in the new one. Below is an example where type
is 0:
6.
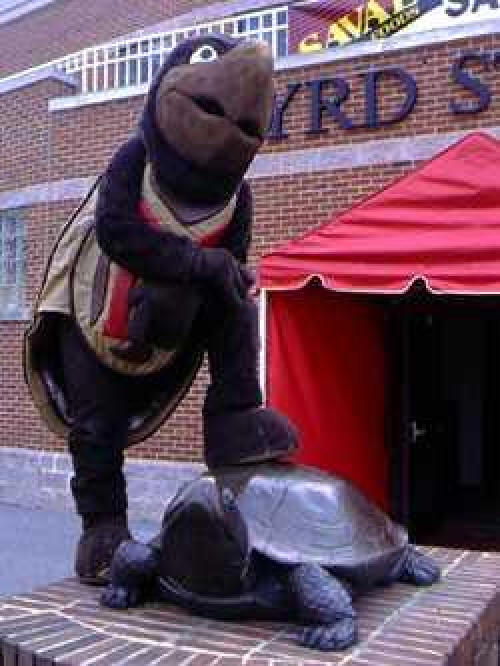
public static
Photograph enlargement(Photograph photo) -- This method will return a
new Photograph that is both twice as wide and twice as high as the
original.
7.
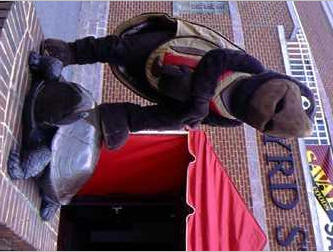
public static
Photograph rotated(Photograph photo) -- This method will return a new
Photograph that is the same as the original, but turned 90 degrees
clockwise.
8.
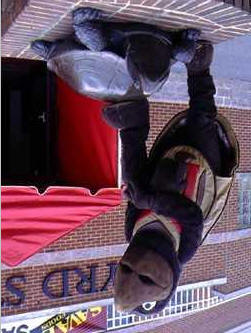
public static
Photograph upsideDown(Photograph photo) -- This method will return a new
Photograph that is an exact copy of the parameter, but rotated 180 degrees.
9.
public static
Photograph weirdCombo(Photograph photo) -- This one is tricky. The
new photo will consist of an upside-down copy of the original photo positioned
side-by-side with a copy of the photo rotated 90 degrees clockwise. The
height of the new photo will be equal to either the height or the width of the
original (whichever is larger). The width of the new photo will be equal
to the sum of the height and width of the original. All pixels in the
new photo that do not fall within either of the original pictures must be
set to black. Below is an example:
Requirements
- Your may only write a single class called PhotoTools.
- You will be penalized for duplicative code! Be sure to have some of your methods make calls to other methods that you have written rather than duplicating the code.
- You may write extra private static methods if you want to. You may NOT write any extra methods that are not static or not private.
- We are grading your projects for appropriate commenting this time, as discussed briefly in class. Each method should have a comment above it. Other comments should be provided wherever clarification is warranted.
- If your program is not displaying the pictures correctly, you will receive no credit.
- You must use meaningful variable names and good indentation.
- You should not modify the project specifications. For example, do not add extra behavior or output.
- Just in case you know what an array is -- you may not use arrays (or any Java collections of any kind) while implementing this project.
- Your program must terminate without using anything like System.exit(). (Don't worry if you don't know what that is.)
Grading
For this project, we have written one test for each of the methods you will be implementing.
- Release tests (nine) -- 90%
- Style -- 10%