Department public printers
Contents |
The public print queues in Iribe are ps1 (IRB 1208), ps2 (IRB 2208), and ps5 (IRB 5149). Color printer queues are cps1 (IRB 1125) and cps5 (IRB 5149). Graduate Students should utilize color printer queue cps5 (IRB 5149) if color printing is required. You will need a card swipe to access these printers and access to IRB 1125 is not provided to students unless required. To be granted swipe access please email facilities@cs.umd.edu
The printers (Black and White) are Canon imageRUNNER ADVANCE 6575 printers and the Color Printers are Canon imageRUNNER ADVANCE C5535 printers. They include some advanced features:
- Scanning – These printers can be used to scan documents to TIFF or PDF formats and send them via email.
- Secure printing – Print jobs (such as exams) can be password-protected, and only printed when you key in the password at the printer. Secure printing works only from Microsoft Windows and MacOS systems.
- Stapling – Documents up to 50 pages can be automatically stapled.
Installing Printers
In order to use the advanced features, you will need to use the correct, current drivers.
Note that supported department UNIX machines and PCs should already have the correct drivers and print queues installed. If you are having problems with a supported machine, please contact helpdesk@cs.umd.edu.
Also note that machines must be on the department wired network or campus GlobalProtect VPN (preferred) or the CS VPN (legacy) in order to print.
Systems using the campus wireless network are not considered to be on the local network, and must use the VPN.
Use over Wireless or Outside IRB
To use the print queues using a personal computer, wirelessly, or remotely, you must connect to the campus GlobalProtect VPN (preferred) or the CS VPN (legacy) and be connected to any internet connection. Upon connecting to the VPN, ps1, ps2, and ps5 should become usable as though you were using a local machine.
Secure printing
The Canon copiers in Iribe support secure printing. When print jobs are sent to a copier in secure mode, the job is not output on the copier right away; the user must go to the copier and enter a PIN to print the job. See below for secure printing instructions on different systems:
Secure printing: Linux systems
Secure printing on department Linux/UNIX is not supported. If you need help configuring secure printing from a self-managed Linux system contact helpdesk@cs.umd.edu.
Secure printing: Windows systems
Print a document normally, and be sure to choose one of the print queues with the Canon Imagerunner 6575 driver installed. We recommend selecting an individual printer (e.g., ps2b instead of a general queue (e.g., ps2) so that you know which printer to go to to release your job.
- At the print dialog box, choose Printer Properties.
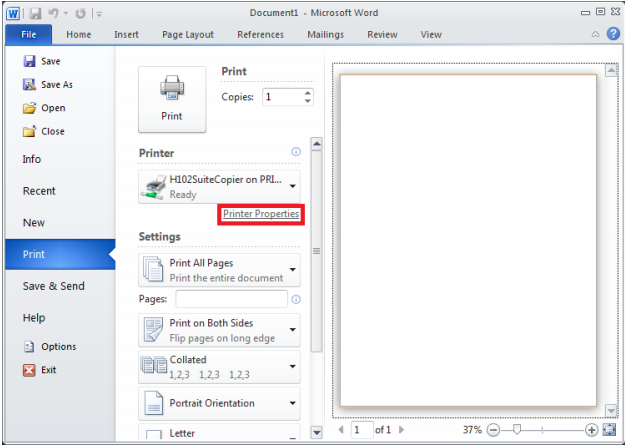
- As Output Method, instead of Print, choose Secured Print.

- Immediately to the right of the Secured Print setting is a very small button. If you point at it, it should identify the button as Secured Print settings. Click it.
- Enter a username to identify your document.
- Enter a numerical password or PIN for your document. Your username and PIN should persist after sending the job, so you won’t need to enter them again unless you want to change them.
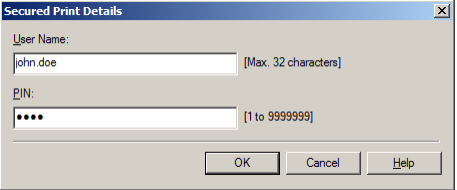
- Click OK
- Click OK again to send the print job.
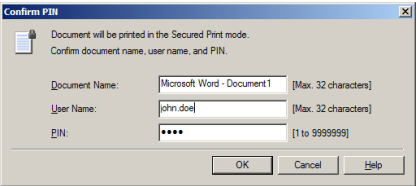
- A Confirm Password dialog box will appear to verify your secure job, username, and password. Click OK
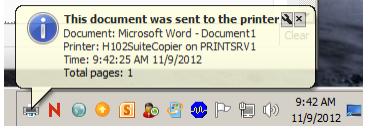
- Upon a successful print, you will see a balloon tip telling you that the job was sent to the printer. Now, you may go to the copier to retrieve your printout
Secure printing: Mac OSX systems
In the document you want to print:
- Click File > Print
- Select the printer you want to send the job to (e.g ps2)
- Under the “Orientation” icon, click the drop down and select “Special Features”
- Under the Job Processing drop down, select “Secured Print” and click Print
- You will be asked to enter a document name and PIN. Click Ok and retrieve from the printer
Access your Secured Print Job with a PIN at the Printer
Follow these steps to retrieve your PIN protected print job from the printer:
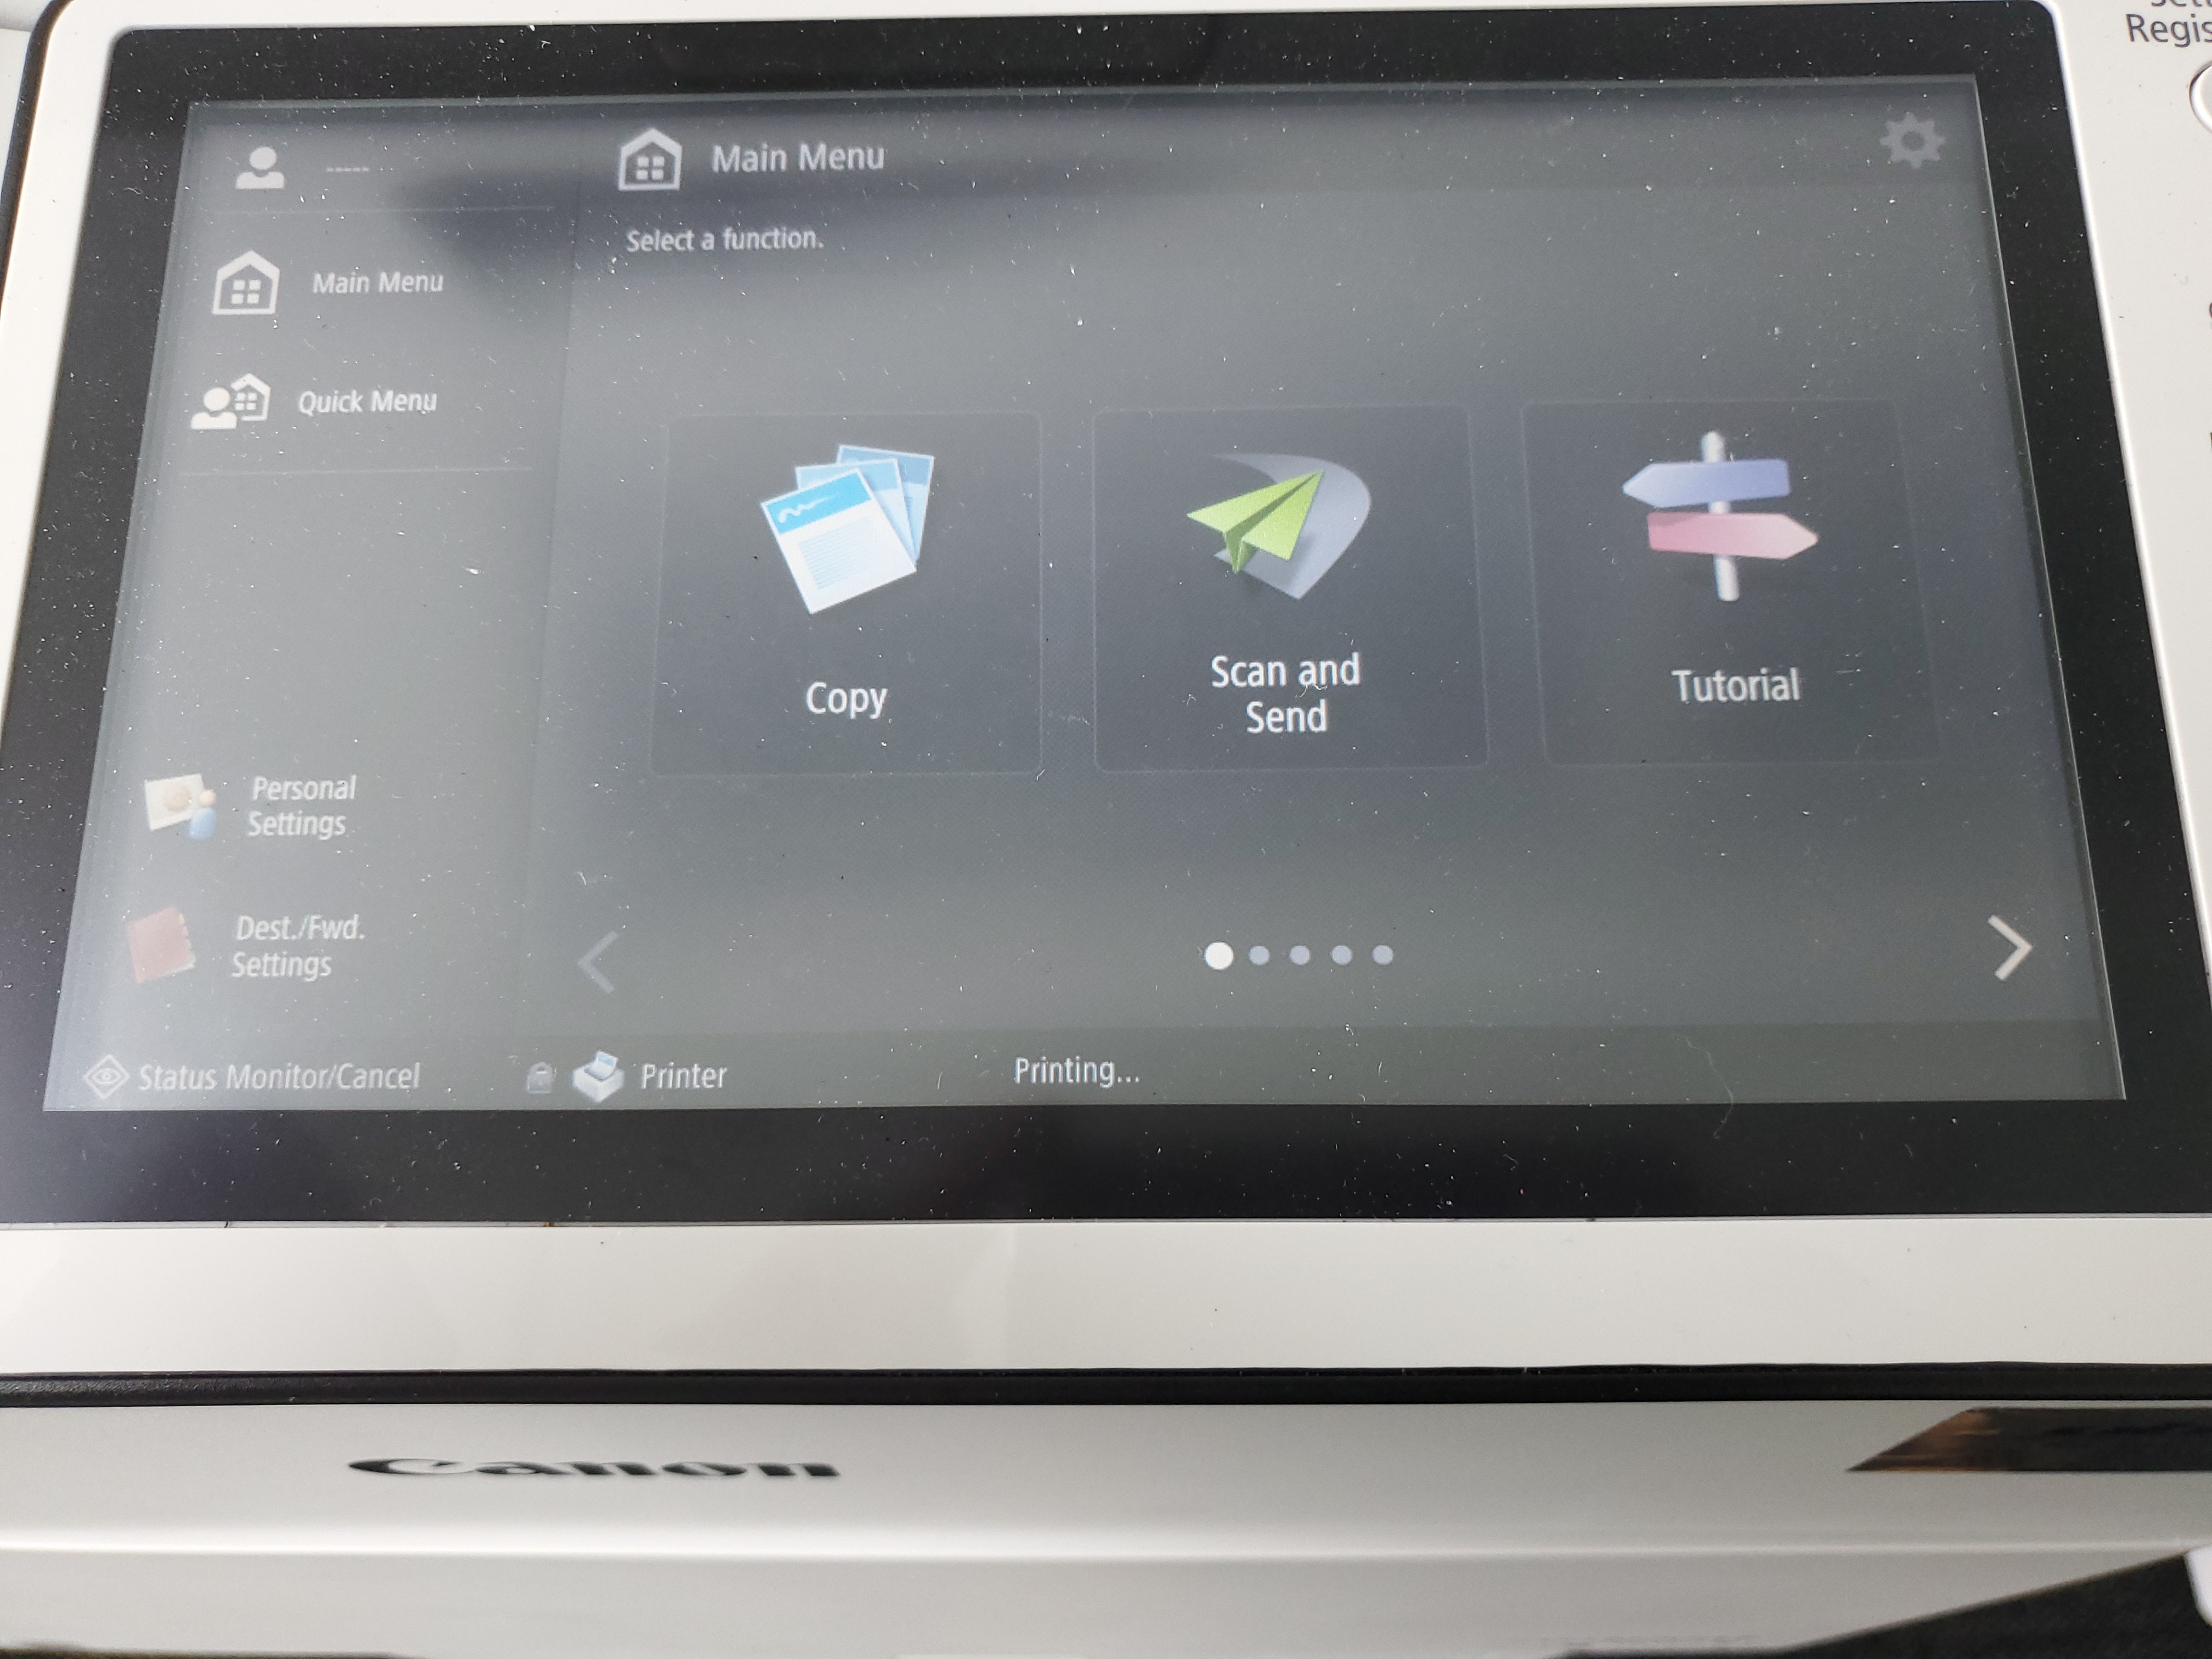
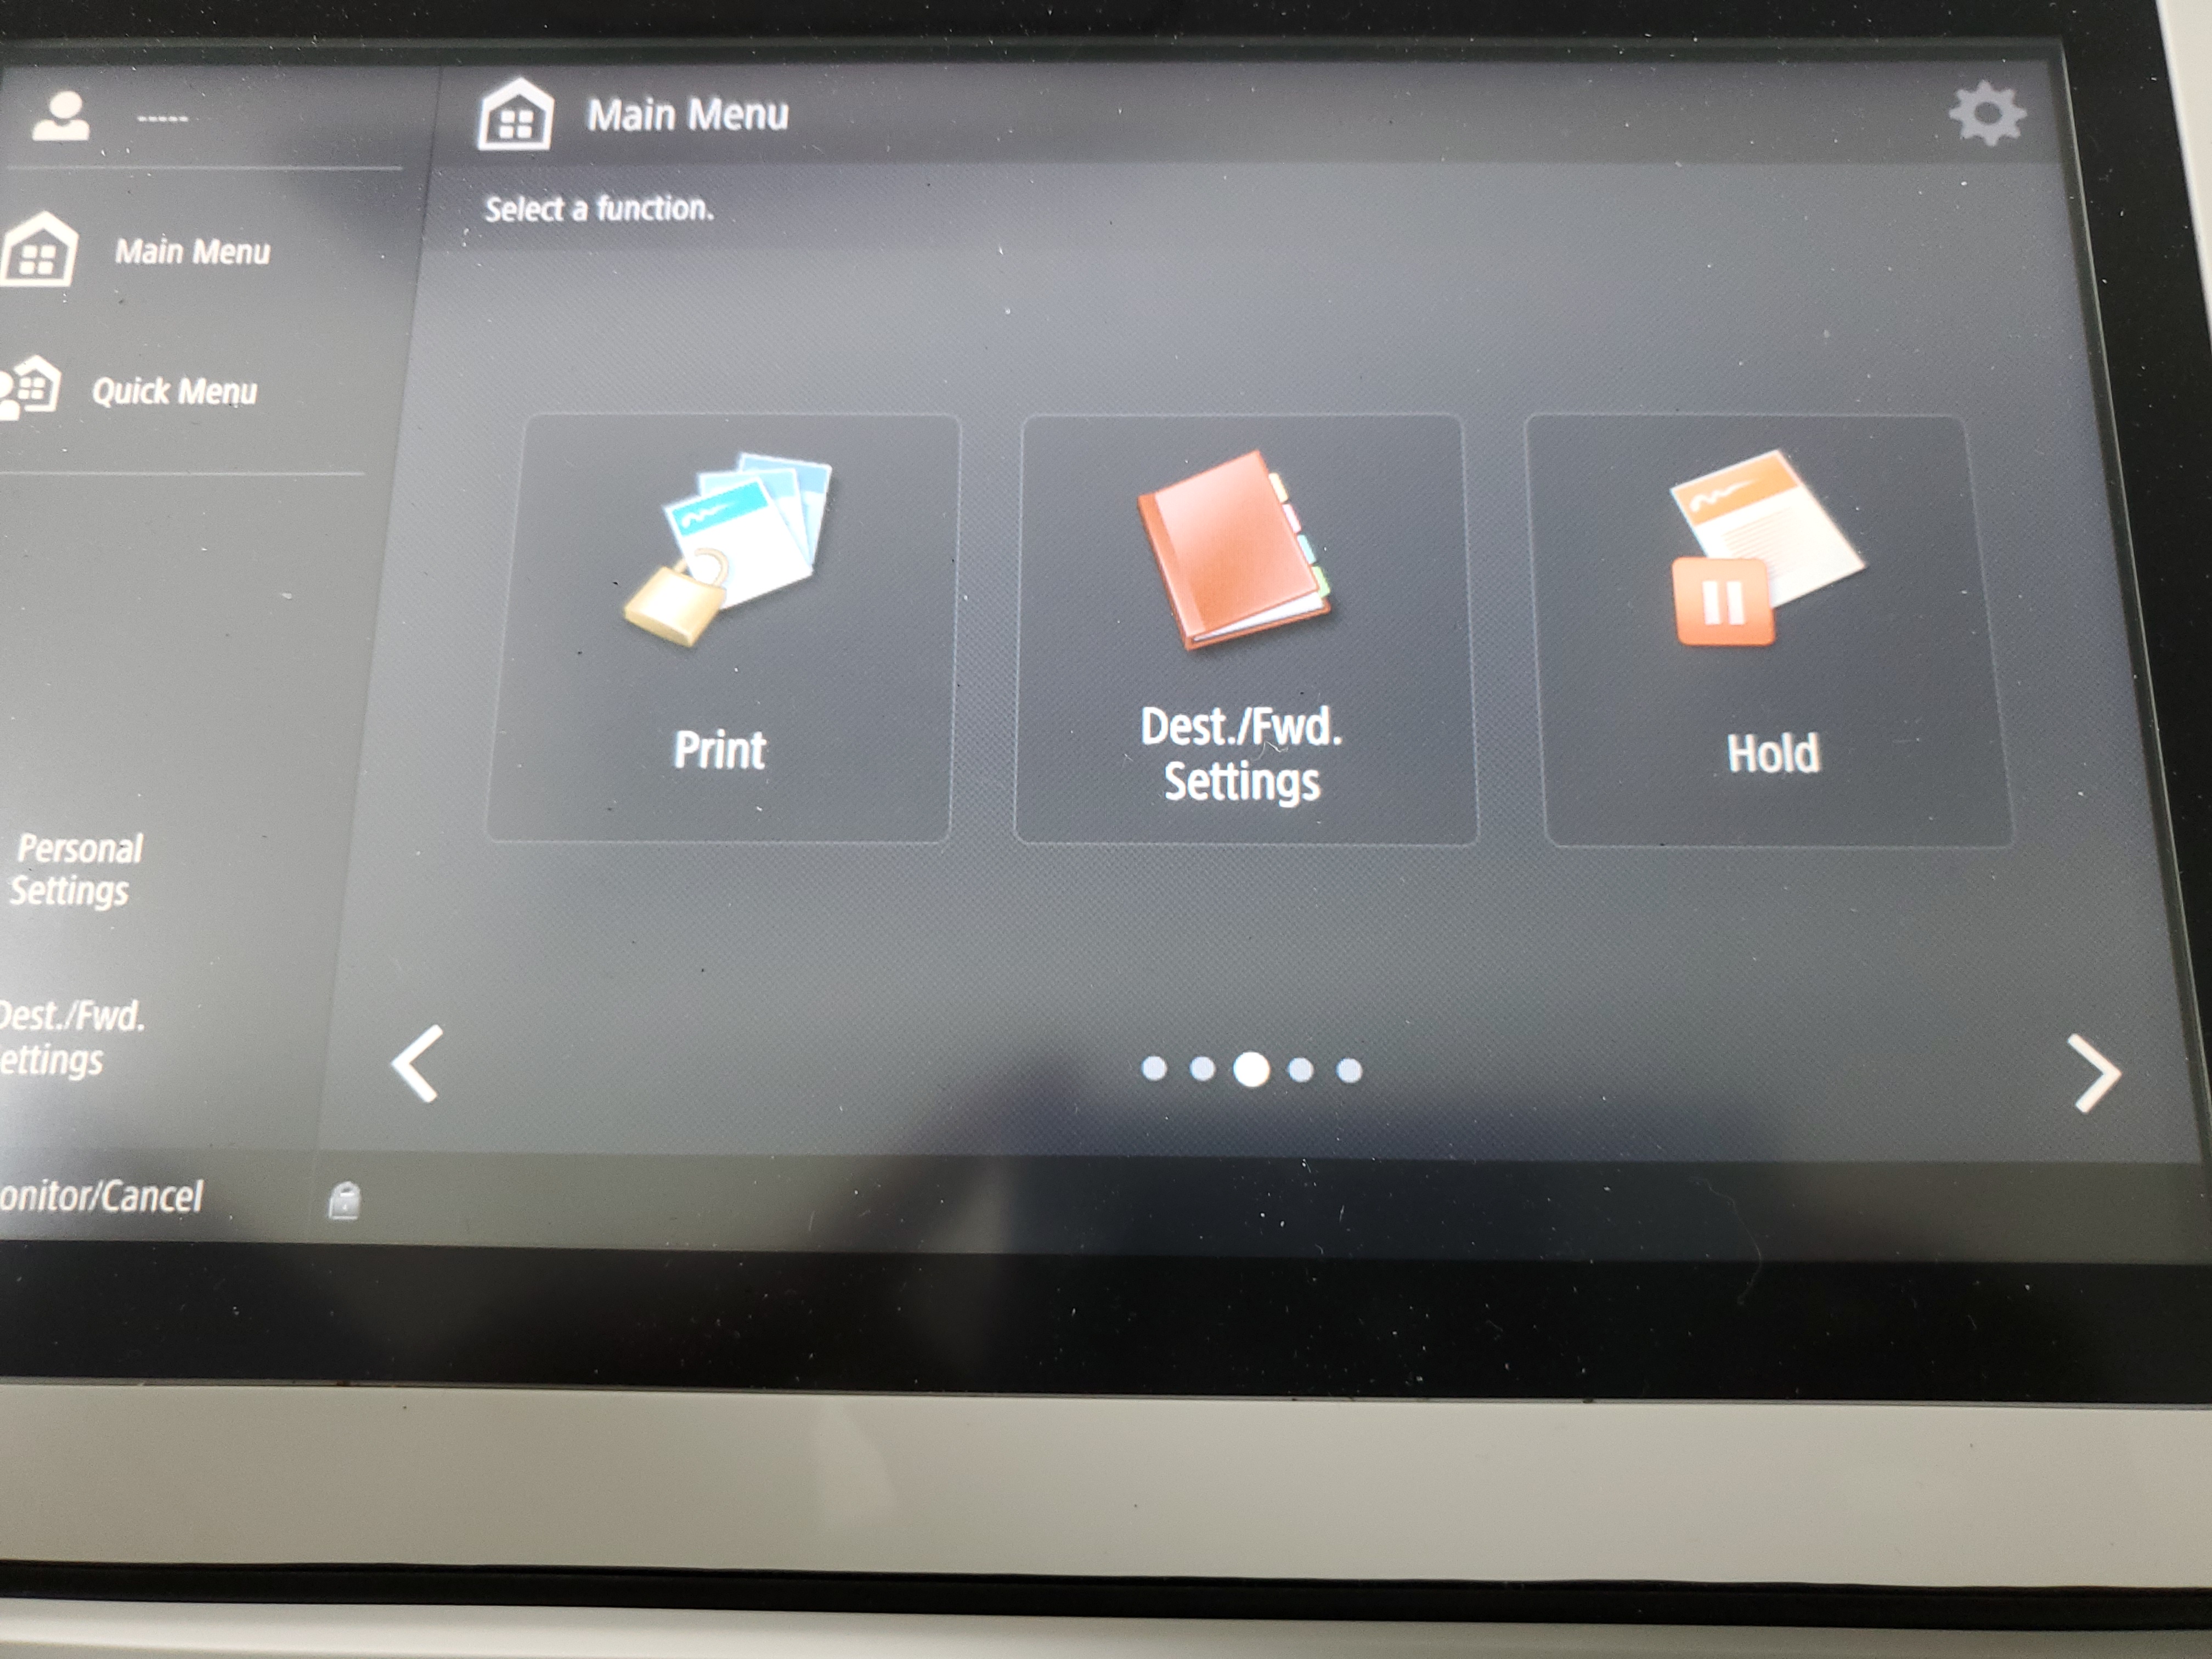
- Select or make sure that you are in the Main Menu tab (this should be the default setting on the print panel).
- Under Select a function, click the bottom right arrow to scroll to the print icon (the icon depicts a padlocked set of papers).
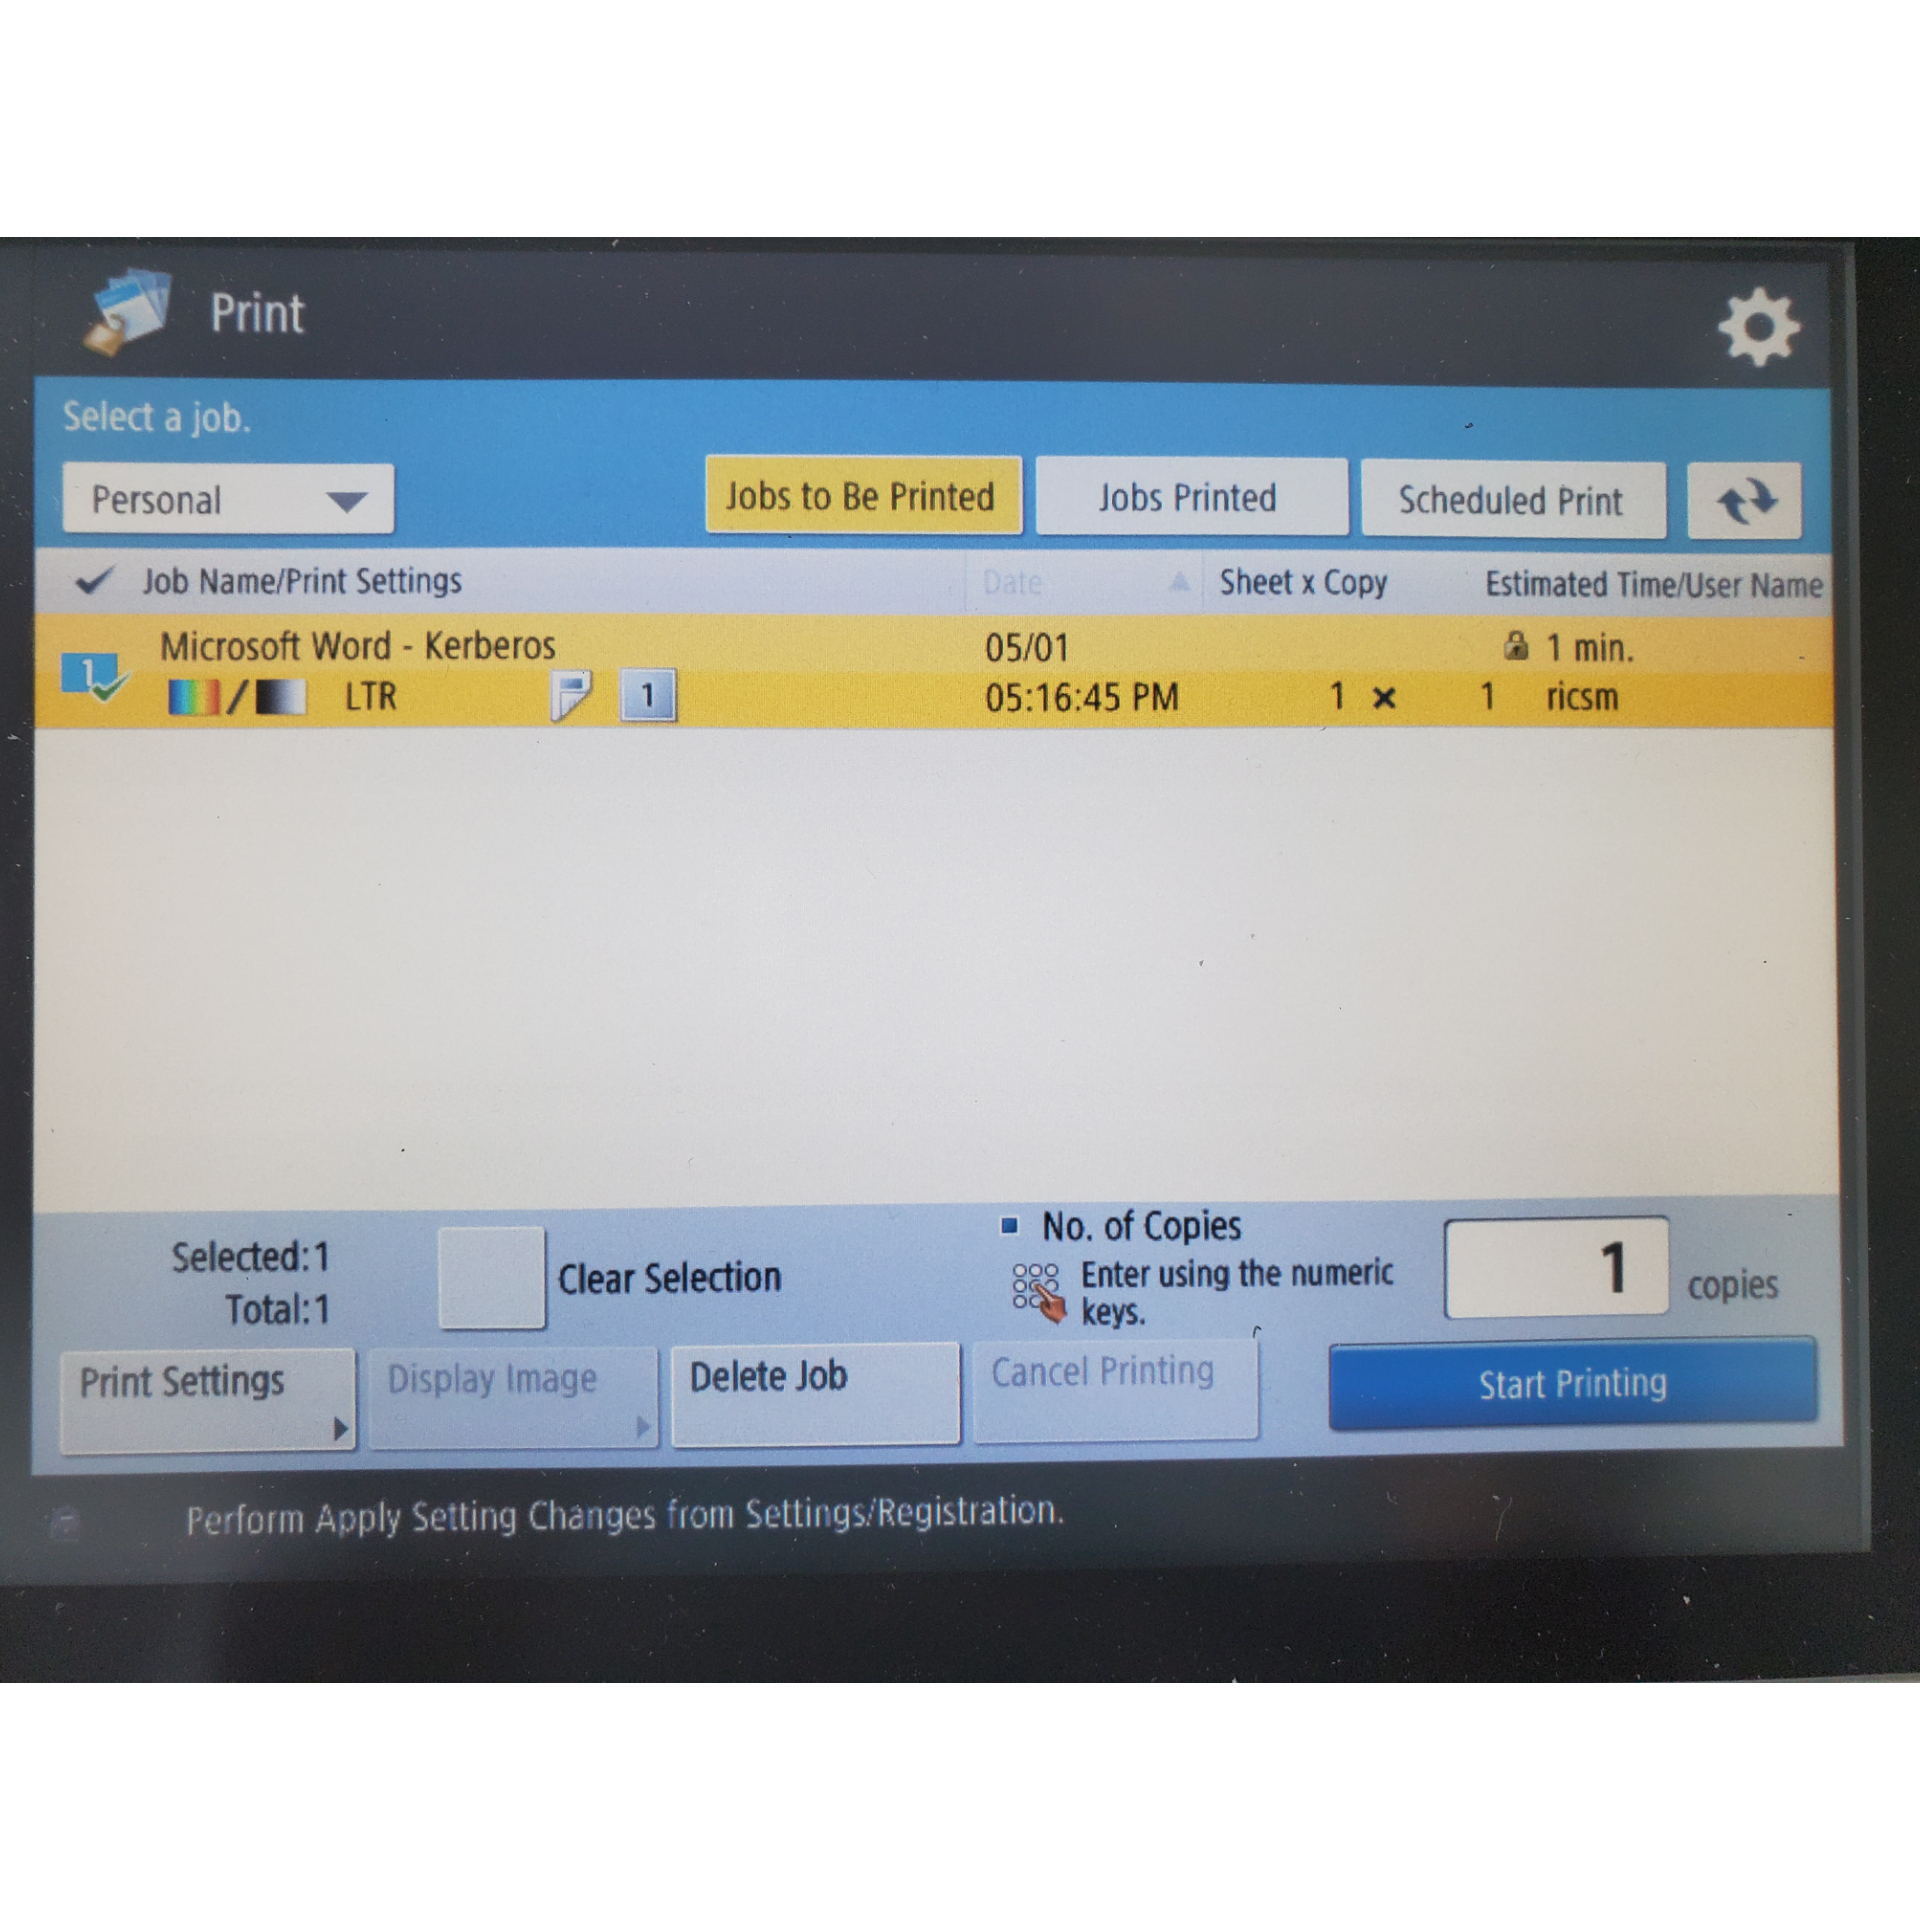
- In the Jobs to be printed tab, locate the name of your print job and click Start Printing.
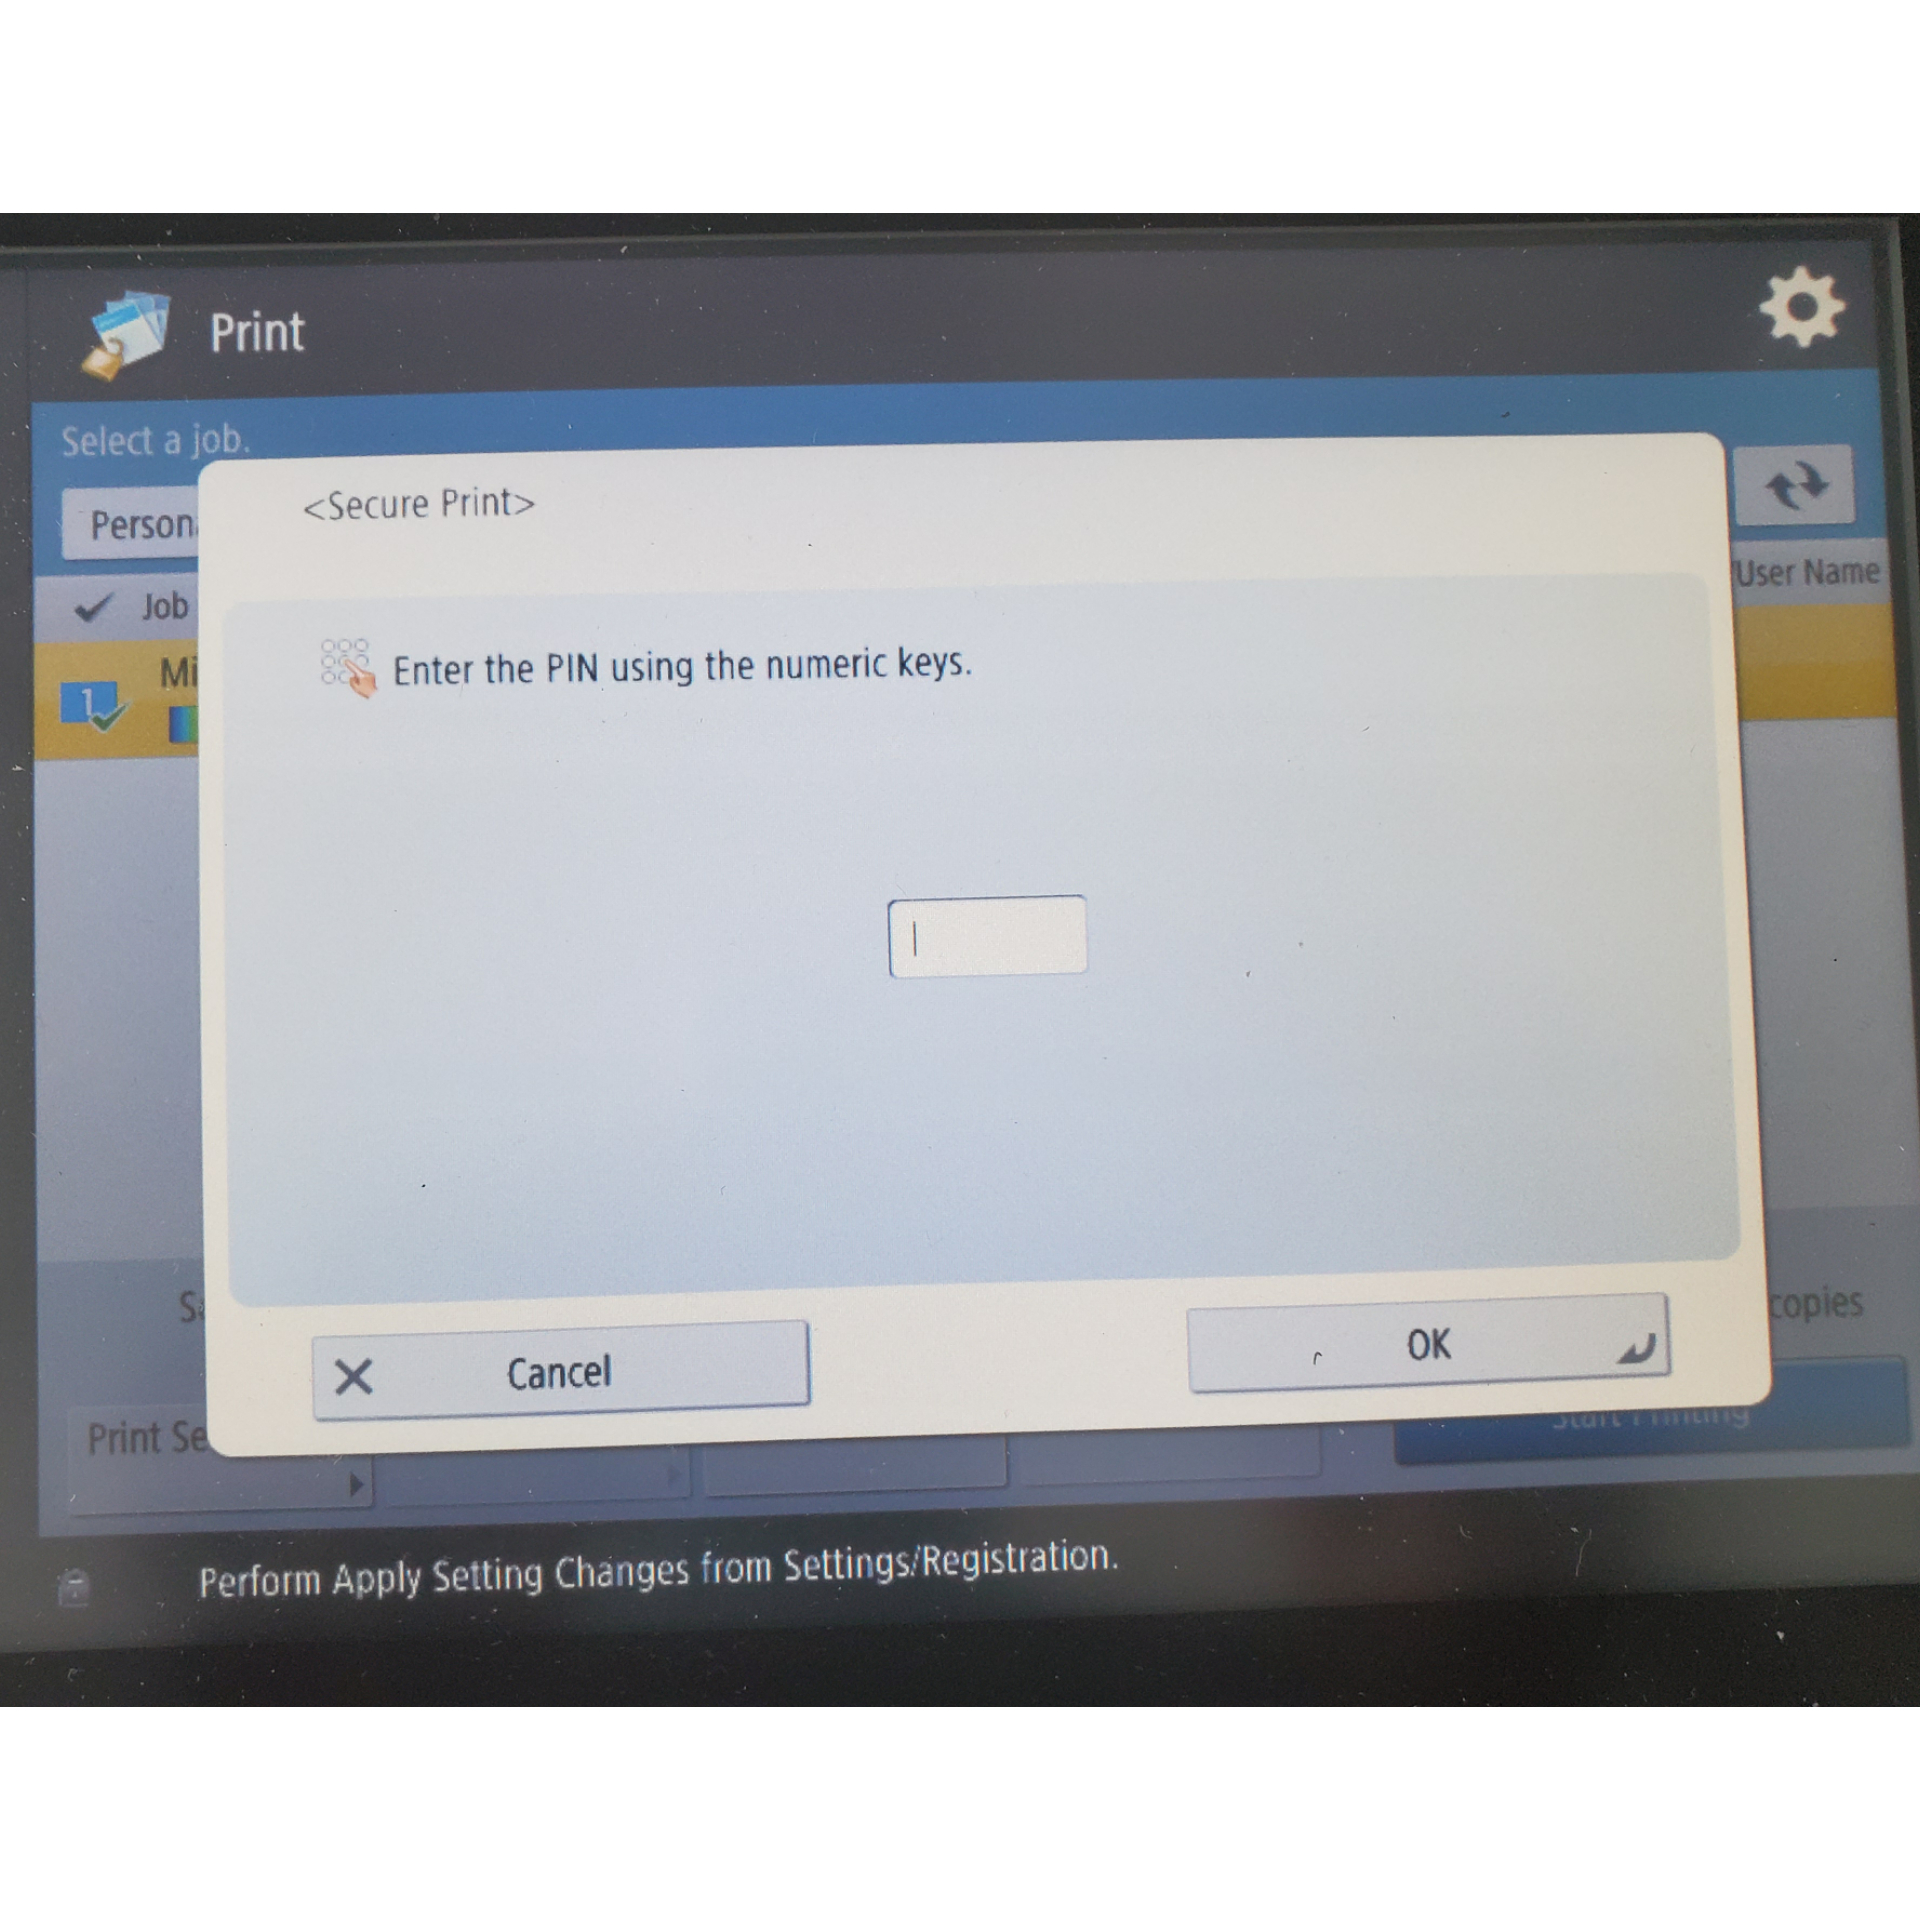
- A dialog box asking for you to enter your pin will appear, enter in the PIN you created and click Ok (Document will print)
Multiple copies
To print multiple copies with lpr, add the “-#” flag with a numeric argument. Thus for example to print 10 copies of file.ps on ps3:
lpr -P ps2 -# 10 file.ps
Reportedly this can be combined with the stapling arguments below.
Stapling
Use this lpr command to staple your document on Linux.
lpr -P ps1 -o StapleType=StapleON -o StaplePos=1PLU file.ps
…this tells lpr to add 1 staple, in the Left Upper corner of a Portrait-oriented document.
If you’re using lpr on MacOS you’ll need to use a slightly different command.
lpr -P ps2 -o CNStaple=True -o StapleLocation=TopLeft file.ps
Scanning
To scan a document:
-
Place the document on the platen glass or in the feeder. For documents such as books and thick/thin paper which cannot be loaded in the feeder, place the document on the platen glass. If you want to scan 2-sided documents or continue to scan several sheets of documents, place them in the feeder
-
Press Scan and Send on the Home screen
-
Specify the destination on the Scan Basic Features screen (You can specify your own E-mail address. After entering your email you can subsequently choose your saved email entry from the address book)
-
Hit Ok and document will scan and send a copy to your email
-
NOTE: please do not feed any stapled documents into the multi-feeder