Adafruit Circuit Playground
IntroductionAdafruit Circuit Playground is an all-in-one board with sensors and LEDS. This device can:
- Sense light, sound, temperature, touch, button presses
- Make noise
- Color ten LED "neopixels"
You can program circuit playground by sending a set of instructions to the microcontroller (chip with cpu, memory, flash storage, I/O pins) on the board. To write the code that you send to the device, you will use the Arduino Programming Language and the Arduino IDE (https://www.arduino.cc/en/Guide/Introduction). Arduino is an open-source electronics platform.
Installation- Download the Arduino IDE by visiting the site https://learn.adafruit.com/add-boards-arduino-v164/setup and selecting the appropriate version (PC, Mac, etc.). For windows use the Windows installer.
- In a windows machine you will install the software by running the installer (during installation just select next). In a mac just unzip the file and drag the program to your desktop.
- Once installed you should see the icon for Arduino (infinity symbol with -/+).
-
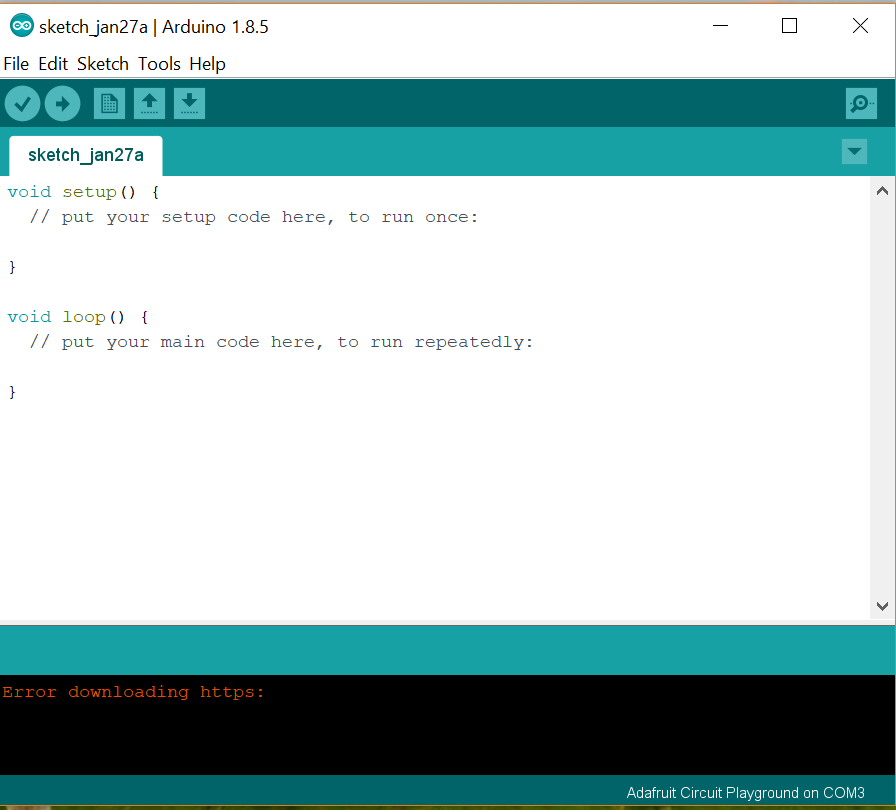
Run the Arduino IDE. You will see an interface similar to the following:
- Define the board to use by selecting the menu entry sequence Tools→Board→Adafruit Circuit Playground. If you select Tools again you should see next to Board: "Adafruit Circuit Playground".
- Connect the device (Circuit Playground) and select the port to use by using the menu entry sequence Tools→Port and the appropriate port (e.g., COM8(Adafruit Circuit Playground) or /dev/cu.usbmodem1411(Adafruit Circuit Playground)).
-
Install the cmsc216 library by:
- Downloading the library TwoSixteen-0.0.5.zip
- Install the downloaded file by selecting the menu entry sequence Sketch→Include Library→Add .ZIP Library... and selecting the downloaded file.
A program in the Arduino IDE is called a sketch. You can create a program by selecting File→New. This will create a new window where you can write the program. By default, you will see two functions (setup() and loop()). Every program has a setup() and a loop() function (which is called periodically for you). Let's load and run the program blink.ino
- Create a new sketch (File→New) and replace the contents with the blink.ino code.
- Select Sketch→Verify/Compile. You will be asked to save the sketch (go ahead). If you look at the bottom of the window, you will see the message "Compiling sketch..." followed by "Done compiling." once it is done.
- Select Sketch→Upload to transfer the code to the device. After the upload is complete, you will see "Done uploading." at the bottom of the window.
- You should now see a blinking red light.
- breathe.ino
- lightsred.ino
If you click on the magnifying glass that is located on the upper right corner you will open a window that is printing a period. This is the result of using printf(".") in the code.
Fundamental functions and elements of circuit playground are covered at Basics.
Other